
| How to Build a Magical Box | |
 |
|
| The following are instructions on how to make a magical box and how to prepare a sensitive emulsion, in accordance with the formulas left by Adojuhr. Given that it is absolutely impossible to have the original materials at our disposal, we provide a list of substitutes. | |
| Original materials and ingredients (XI Century): | Substitutes: | ||
| Kardboard | Cardboard | ||
| Resin from Baltur | Common glue | ||
| Iridescent crystal from Androstián | Common photographic film, any brand | ||
| Plates from Jaldir | Common photographic paper, any brand | ||
| Orange clay from Livandria | Ammonia or potassium dichromate (poison) | ||
| Powders from Taltor | Common clear powdered gelatin | ||
| A unicorn horn | Common pin | ||
| Any shiny surface | The small thin plate which is used to seal powdered milk containers |
|
How
to Make a Magical Box
|
|
|
Step
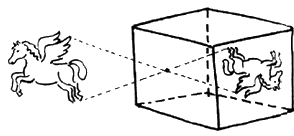
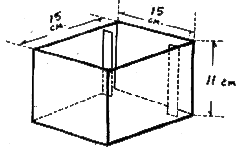
1 In the old days, a piece of iridescent crystal from Androstián was placed inside the box where the reflected image was engraved. Nowadays photographic film is used. The magical box that we are about to make, uses film in plates measuring 4x5 inches. |
 |
 |
Step
2 Before closing the box totally, paint the inside completely black and make sure that there is no crevice through which light can filter. |
|
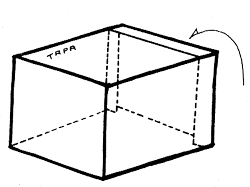
Step 3 Afterwards cut out the upper side. This side should measure a little less than the total length of the box. That is to say, it should be at the same level as the two lateral strips. In this way a slot will be left where the film is to be inserted. |
 |
 |
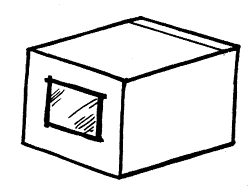
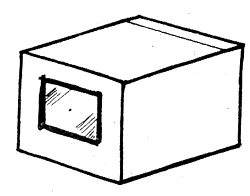
Step 4 Make a two-centimeter square opening on the front side of the box. |
|
Step 5 Cut out a small, thin plate a little larger than the opening and stick it to the opening with adhesive tape, preferably black. |
 |
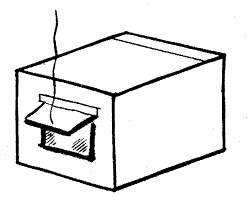 |
Step 6 With the point of a pin make a small hole in the center of the plate. |
|
Step 7 Make a small cardboard cover and place it over the plate in such a way that it can be lifted to reveal the hole and make the exposure. By fastening a thread to the small cover this operation can be performed easily. |
 |
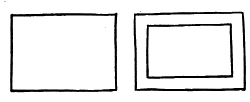 |
Step 8 Cut out two cardboard sheets measuring 14.7x11 centimeters. In one of them make an opening, leaving a frame of approximately two centimeters |
|
Step 9 Join them together with tape as shown in the illustration. This will be the support for the film. |
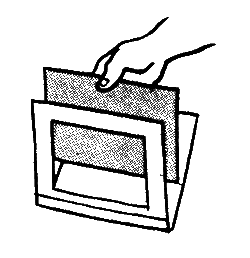 |
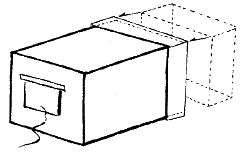 |
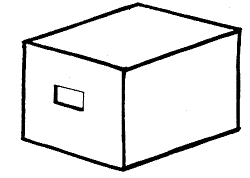
Step 10 To cover the slot where the film is inserted you will have to make a shorter box which fits snugly over the other. |
|
Step 11 In complete darkness, place a photographic plate in the support and insert it through the box's slot. The two lateral strips will prevent the support from collapsing inside. |
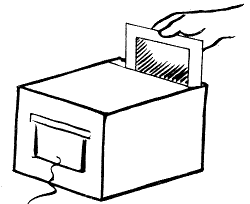 |
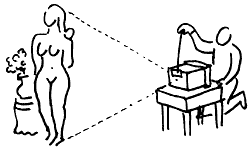 |
Step 12 With this magical box you will be ready to capture images that you want. All you have to do is to place the box securely in front of them and lift up the little door which covers the hole for a length of time as indicated below. |
Exposure
Times Using a 400 ASA Photographic Film
| In sunlight | 5 seconds |
| Outside in the shade | 10 seconds |
| Well-lit interiors during the day | From 20 to 30 seconds |
| Interiors at night, with normal lighting | From 5 to 10 minutes |
 |
|
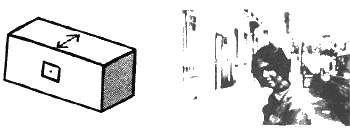
Step 13 By making a magical box with a short shaft you will have a wide-angle. |
|
|
|
Step 14 With a long shaft you will have a telephoto. |